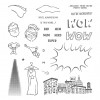
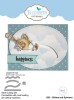
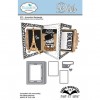
Don't loose your head, because it's time for Karen Burniston's Designer Challenge! It's a Hat Attack! Karen challenged the team to use any hat from any of her Props sets on our cards. I was watching a video from Els van de Burgt when I got the idea to use the Ring Accordion to make a double slider card. It's so fun to watch both Whiskers slide around the card.
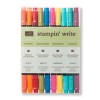
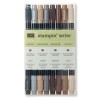
Turn the card a little bit and Whiskers will slide up and around. I kept the pivot points because I didn't want a collision of the Whiskers - but you can also cut the pivot points off and Whiskers will go full circle. I used Stampin' Write Markers to mimic my friends' cats. Yes, I know one cat has one blue eye and one green eye - this card was made especially for her and her kitties.....and yes, he does have different colored eyes in real life.
And because I know curious minds want to know how......here's a photo. I die cut some fun foam using the Ring Accordion die, cut away a channel large enough for the circle washers to move along. This piece doesn't need to be pretty, it just needs to function. The foam in the center channel is what the die will cut and typically would not be needed; however I simply cut it shorter and used it as my slider. I sandwiched that piece with (2) 3/4" circle punches and then adhered Whiskers to the top.
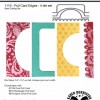
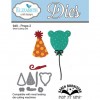
For the inside, I used Happy Birthday Pop Up, Props 2, and Pull Card Edges. What cat lover wouldn't love to receive this card?
Check out Karen's blog tomorrow as she will have a video tutorial for her "Hat Attack"!
Happy Stampin',
Raquel
To purchase Stampin' Up! products, please visit my online store.
To purchase Pop It Ups designed by Karen Burniston for Elizabeth Craft Designs, please visit your local independent craft store or online.